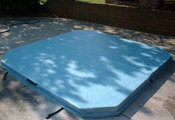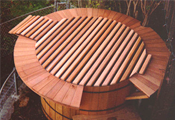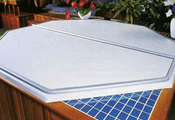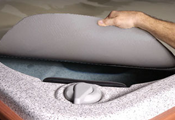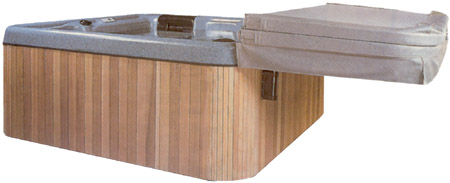
It's hard to imagine a more simple or effective method of cover removal and storage than the CoverShelf. Simply fold the cover in half and slide it out onto the sturdy aluminum bars, where it can rest securely without obstructing the view.
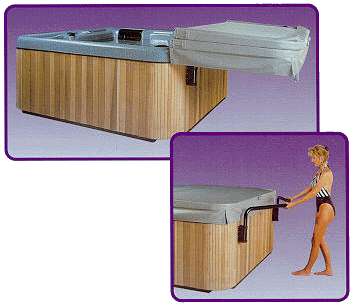 The Covershelf provides the simplest & most economical way to remove and store the spa hard cover when space behind the spa is not a factor. So simple to use - the Covershelf swings into the open position, then from inside the spa the user simply slides the folded hard cover on to the Covershelf. |
 The Covershelf is made of strong weather resistant plastic and steel to provide years of trouble free performance. |


Installation / Operating requirements and limitations |
||||||
| rear clearance | side clearance | spa/cabinet shape limitations | mounting location | spa corner shape limitations | type of lift assistance | min. [max.]cover width |
| 1/2 overall cover length | none | not for round skirted spas | back only | none | none | not applicable |
See the complete Cover Lift Configurater to compare all cover lifters side by side. |
||||||
Installation Instructions for the Covershelf
Download the instructions as a PDF file.
|
Parts Included |
|
| QTY | DESCRIPTION |
| 2 | Plastic Mounting Brackets |
| 2 | Shelf Arms |
| 16 | #10 x 1" Phillip Pan zinc plated screws |
| 16 | Small black plastic domed screw caps |
Step #1:
Locate Plastic Brackets;
- Plastic Mounting Brackets should ideally be installed a minimum of 58" between them, to allow enough room for the Support Arms to swing closed against the spa.
- The bottom of the Plastic Mounting Brackets should be 18-3/8" below the top surface of the spa, making the top of the Shelf Arms the same height as the spa.
Step #2:
Secure each plastic mounting bracket with 8, #10 x 1" screws. Place black plastic domed screw caps over each screw.Step #3:
Slide the Shelf Arms down into the plastic mounting brackets.Step #4:
Extend Shelf Arms out from spa, fold spa cover in half and slide onto shelf.


