The Cover Rock-It
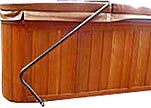
The Cover Rock-It gets the job done when moving your spa cover off and on your spa. The Cover Rock-It fits most spas up to 96" while saving on your spa cover wear and tear. The Cover Rock-It installs easily in minutes and is an affordable solution when considering a spa cover removal device.

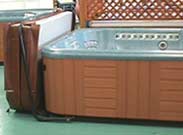
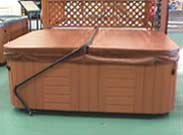
The Cover Rock-It is a superior cover lift that offers a simplistic design. It fits most of today's spas up to 96", all the while offering ease of use and affordability. The Cover Rock-It slides effortlessly behind the spa enabling a view from all sides. While the spa is in use the Rock-It reduces cover wear and tear by keeping the cover off of the ground. The powder coated finish in addition to the improved frame strength ensures years of effortless spa cover removal.
- Under-spa plates are held securely in place by the weight of the spa.
- Requires as little as 18" of clearance.
- When folded down, the cover stores neatly on the side of spa to provide a full view.
- Zinc-plated and powder coated finish.
- Fits most spas up to 96".
- Features a five year limited manufacturer's warranty.

Installation / Operating requirements and limitations |
||||||
| rear clearance | side clearance | spa/cabinet shape limitations | mounting location | spa corner shape limitations | type of lift assistance | min. [max.]cover width |
| 30" | 3" | not for round or octagon spas | side only | none | fulcrum | not applicable [96"] |
See the complete Cover Lift Configurater to compare all cover lifters side by side. |
||||||


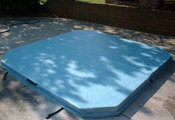
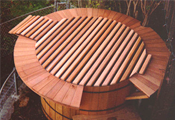
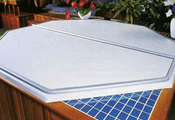
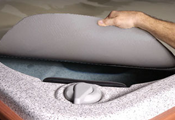
Click on pictures above for a larger view
Cover Rock-It
Assembly and Installation Instructions
- Slide together fluted tubes as shown in Fig.#1.
- Center completed tube into elbow tubes on both sides of spa as in fig.#2. DO NOT screw down the self- tapping screws until the exact centered width is determined by mounting pivot arm with pivot plate.
- Attach pivot arm to pivot plate (fig.#3) with washer and screw provided (do not over tighten). With pivot arm resting on its elbow (fig.#4),position pivot arm as even as possible with back of cabinet.
- Position pivot plate on kick plate as close to the ground as possible. If your spa has no kick plate or if kick plate is too deep under the spa cabinet or spa rim is too far out on edge,see 4B below.
- Mount pivot plate with screws provided. Repeat mounting pivot plate on other side of spa with hardware provided (based on measurements from the mounted side). It is important that both pivot plates are mounted in the same spot on opposite sides for proper function.
- Insert elbow tube into pivot arm (fig.#5). Swing up assembly so top edge is laying on positioned cover just shy of middle seam.
- Screw in all self-tapping screws when this position is achieved.
- To remove cover, swing up assembled Cover Rock-It to position at center seam on cover. Fold back cover over Cover Rock-It toward back on spa.
- From side of spa,slowly move back Cover Rock-It with spa cover folded over elbowed tube until pivot arm is resting on ground.
- To reposition spa cover on spa,start on side of spa by swinging pivot arm toward front of spa. As folded spa cover engages rim on spa,push spa cover (from back of spa) into position. Then unfold cover to completely cover spa. When completed, return Cover Rock-it to resting position.
4B.If your spa has no kick plate or if kick plate is too deep under the spa cabinet or spa rim is too far out from the edge, you will need to mount pivot plate to the side of cabinet. Make sure that you are attaching the pivot plate to a support beam (look for screws on finished cabinet), not just to the cabinet wall. You might need a block of wood to bring bracket out if the spa rim is too far out.
You can print this page if needed, or also
download
the instructions in a PDF file for Acrobatreader.


