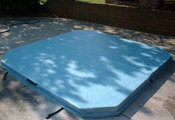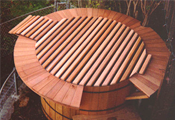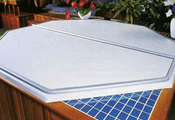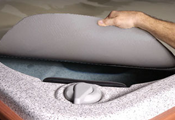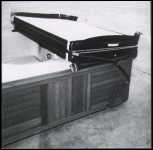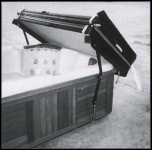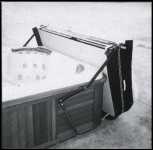
The Super Lift 2 adjusts to fit any cover up to 99". It's tension springs assist lifting your cover not only off, but back on your spa as well. The cover is then stored alongside in as little as 15" of clearance. Made of powder coated light weight steel tubing, it comes to you 90% pre-assembled. Please note this cover lift will only work on spas that are at least 27" high.
Installation / Operating requirements and limitations |
||||||
| rear clearance | side clearance | spa/cabinet shape limitations | mounting location | spa corner shape limitations | type of lift assistance | min. [max.]cover width |
| 15" | 18" | side only | tension springs | |||
See the complete Cover Lift Configurater to compare all cover lifters side by side. |
||||||
Superlift 2 Installation Instructions
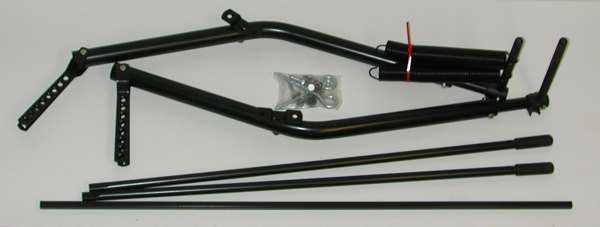
What's actually inside the box.
Minimum Height Requirement:
A minimum of 26.5 inches is required from the pivot point (A) to the eyebolt (D). Installing lift on spa with less than this minimum height requirement could result in injury, and improper function of the unit.WARNING! Failure to follow the instructions carefully could result in injury. Please read all instructions before attempting the installation on use of this product.
1. PARTS LIST
The following hardware is included in your Superlift2 package:
Items not pictured: Two springs, two spring bracket sets, two pivot arms, two handle bars and one torsion bar.
2. TOOL LIST
The following tools are needed to install your Superlift2:- Power drill with 5/16" drill bit.
- Socket wrench with 1/2" and 9/16" sockets.
- Large head Phillips screw driver.
- Awl
- Tape measure
- Level
Many of the steps below show the installation of your cover lift on one side of your hot tub. To complete your installation, repeat the same steps on the opposite side of your hot tub.
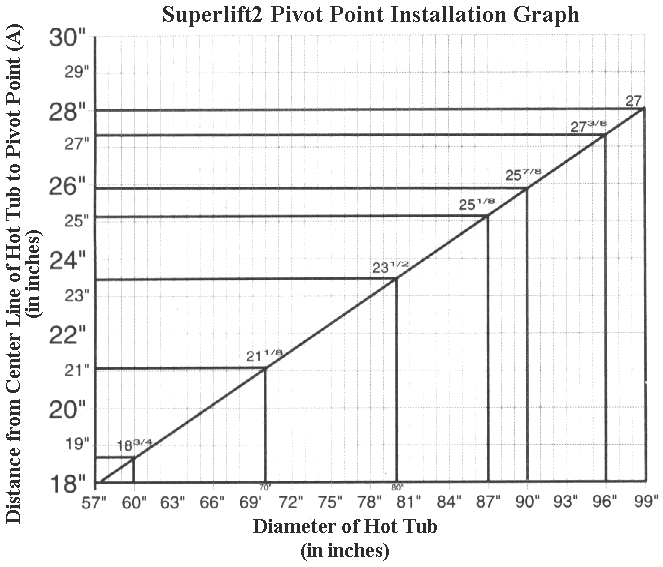
1. Measure the width of your spa from the outside of the shell (do not measure the width of the cabinet). Use the chart below to determine the correct spot at which to mount the Pivot Bracket and the Eye Bolt to the spa's cabinet.
2. On the bottom of the graph, locate the size of your hot tub.
3. Follow your size up the graph until it intersects with the diagonal line.
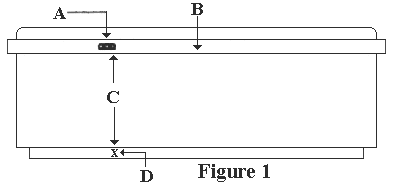
4. At this point on the diagonal line move left to the side of the graph to determine the number of inches (A) from the spas center point (B) to mark the centerpoint of the Pivot Bracket for mounting (see figure 1 below).
5. Holding the Pivot Bracket in place, mark each of the holes for pre-drilling.
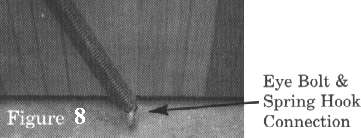
6. To locate the point to mount the eye bolt to the base of the spa, start at the edge of the mounted Pivot Bracket nearest the center line of the spa (C), and drop straight down (perpendicular to the base) to the 2 x 4 base support of the spa cabinet. Mark and mount the eye bolt at this point (D).
Important Points of Installation:
A.) Centerpoint of bracket: this is a point measured back from the tub's center.
B.) Centerline of hot tub: the diameter of the tub divided in half.
C.) Right edge of pivot bracket.
D.) Point to mount eye bolt.
Once you have located your pivot point and pre-drilled your holes, you
are ready to install your Superlift2.
|
|
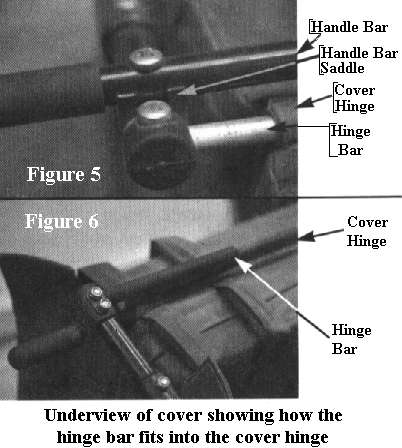 6. (Figure 5 & 6) Close the cover
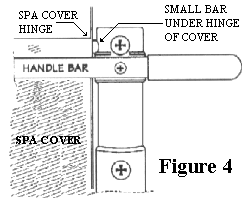
over the spa. The Small Hinge Bar will fall into place under the hinge. 6. (Figure 5 & 6) Close the cover
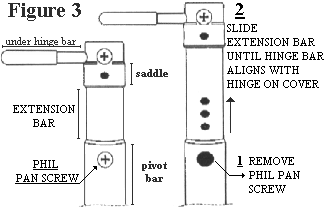
over the spa. The Small Hinge Bar will fall into place under the hinge.7. Remove two Handle Bars and one Torsion Bar from the box. 8. Position one Handle Bar on top of the cover hinge, and into the Saddle. Insert one 2-1/2" phil pan screw through the Handle Bar and tighten into Saddle with provided nylock hex nut. 9. Insert square Torsion Bar into mounted side Handle Bar. Place the other end of the Torsion Bar into the other side's Handle Bar, making sure to insert equal amounts of the square torsion bar into each Handle Bar. 10. Now install the remaining Handle Bar onto the Saddle on the opposite side of the spa. Insert one 2-1/2" phil pan screw through the Handle Bar and tighten into Saddle with provided nylock hex nut. 11. Fold cover back over the Handle Bar. |
|
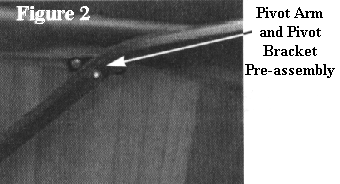
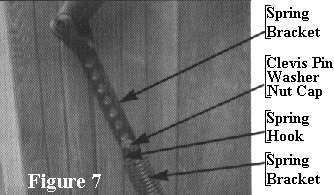
Installing Springs to Spring Brackets PARTS: There are two springs and sets of spring brackets, two brackets per set. One for each side of the spa cabinet. Both sets or spring brackets are pre-assembled to each pivot arm. DIRECTIONS:
|
|
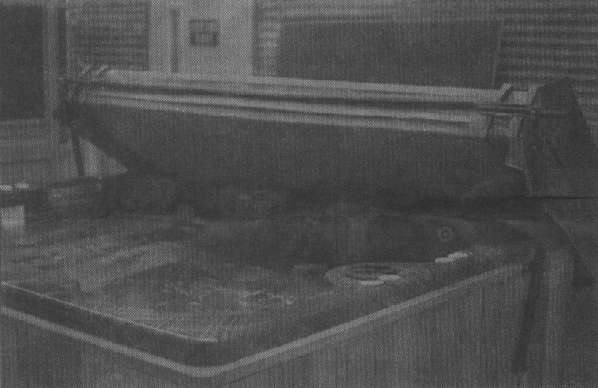
Assembled Superlift2 with cover in 3/4 open position
WARNING: ALL HARDWARE MUST BE PROPERLY TIGHTENED BEFORE OPERATION OF LIFT, FAILURE TO DO SO MAY RESULT IN INJURY OR DAMAGE TO LIFT/SPA.
OPERATION
- Before lifting the cover, make sure there is nothing on the cover.
- Look to see that there is no overhead obstruction that could interfere with the covers trajectory (lights, branches, wires, etc.)
- To lift the cover, fold it in half, simply grab a hold of either Handle Bar, and lift in an upward motion.
- The spring assisted pivot arm of the Superlift2 will provide the necessary power to assist in lifting the cover.
- Bring the cover to it's full open position, slightly past 90 degrees, so that it hangs just beyond the edge of the hot tub. The cover should not touch the ground.


